
Appearance
Create a booking form
Set up the form customers fill in when they want to book you.
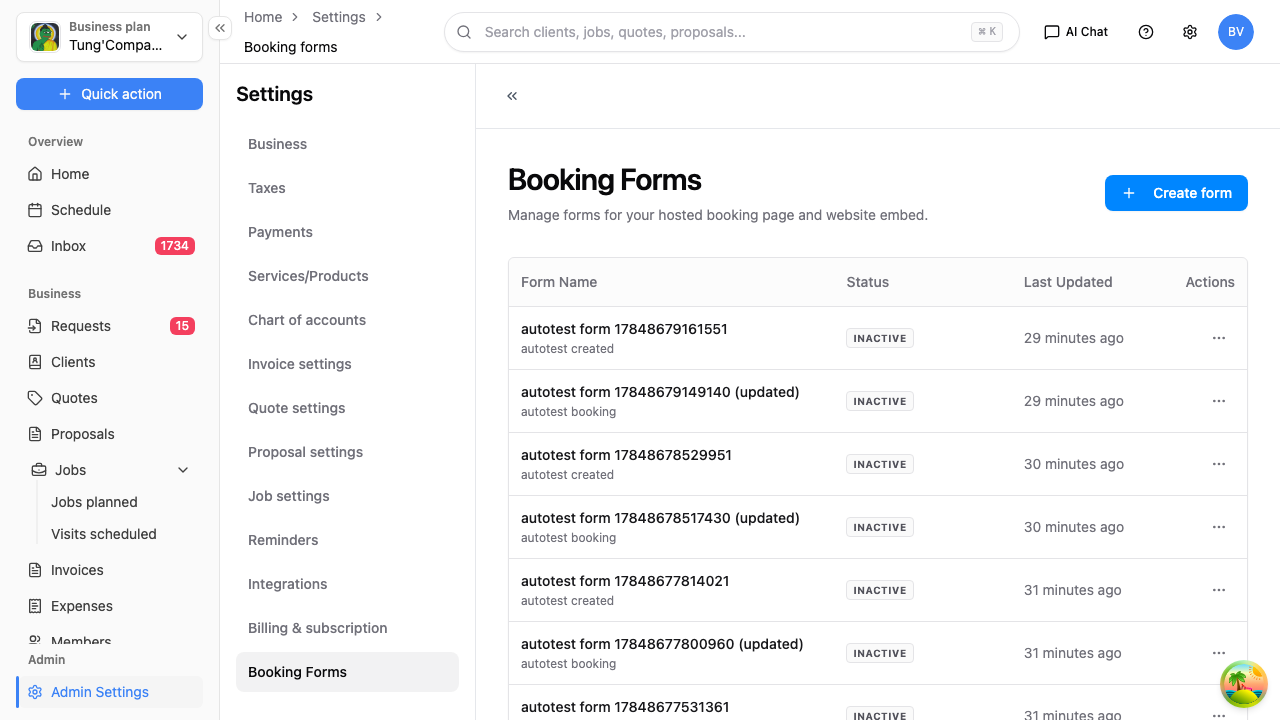
- Go to Settings and select Booking Forms.
- Select Create form.
Choose a template
You start by picking a template — a starting point you can change afterwards:
- Booking Form — for scheduling services. Includes a date/time selection and a service dropdown.
- Contact Form — a simpler enquiry form. Collects a name, email and a message, without scheduling.
Set it up
Once you've picked a template, you customise the form:
- Name it — a name for your own reference (customers don't see this).
- Form title and button — the heading customers see (e.g. "Book a Service") and the wording on the submit button.
- What it asks for — choose which fields appear and which are required: name and email, phone, the service they want, a date/time, an address, and a custom question of your own.
- Messages — the thank-you message shown after they submit, and an error message if something goes wrong.
- Where requests go — the email address that's notified when a request comes in, and whether the customer gets a confirmation email.
- Look — the colours, so it fits your brand.
Save the form when you're done.
Managing your forms
Back on the Booking Forms list, each form shows its name, status and when it was last updated. Use the ⋯ (More options) button on a row to manage it:
- Activate or deactivate a form — only active forms accept submissions.
- Set a form as the default for your hosted booking page.
One form is marked as the default — that's the one your hosted booking link shows. See Share your booking form.